Fundraise Campaign
A fundraising campaign for an NGO serves as a call to action, inviting individuals and organizations to contribute to a mission that resonates with shared values. The narrative woven into the campaign should vividly articulate the impact of the NGO's work, highlighting the tangible differences that contributions can make in the lives of those the organization serves. Whether addressing humanitarian causes, environmental issues, or social justice, the fundraising campaign becomes a platform for storytelling, creating an emotional connection that motivates donors to become active participants in positive change.
Plan and execute fundraising programs, including defining goals and outcomes.
Major features:
Quick and simple setup for a Fundraising campaign with goals and outcomes
Create your Fundraising Landing Page and link it to a campaign
Integrated Payment Gateway or bring your own Payment Gateway
Create Events with QR code
How To Create Fundraise Campaign
To create a fundraiser campaign,
Go to Plan and click on Campaigns. Click on +New to create a new campaign
Select the Fundraising Campaign from the pop-up window and click OK.
Enter the details in the form, like the name of the campaign (keep it relevant), and the time duration for which you want to run the campaign. Who is the owner of the campaign?
The "Type" is by default set to fundraising.
In the goals textbox, enter the amount you want to collect as a fundraiser. The amount entered should be in numbers. (For example $50,000.)
Also, add some description of the campaign that you are about to run.
Go to the next step by clicking on Save & Next, where the form takes you to add the landing webpage. You can choose an existing webpage or create a new one.
When you click on the existing page, a form appears, where you can select the landing page from the list of the pages available.
Once you select the landing page, you can view its name and its Url under the URL Params section.
Click on Done to go to the next page.
Here you can view the details of your campaign. You can also make changes to your campaign if you wish to.
Near the Landing page, click on the ellipses where you can view Preview, Copy URL, QR Code, and Show Code
Release the campaign once you edit by clicking on Release. A pop-up prompts you to decide on which day you want to send out your campaign. Schedule the release and click on OK.
You have now successfully released the campaign, and it will be sent to your target audience on the specified date and time.
You can also modify/copy/delete a campaign. Click on this link to know more about managing campaigns.
Preview, Copy URL, QR Code and Show Code
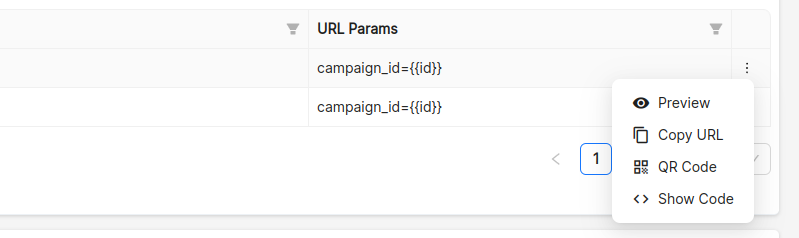
Preview: Click on the Preview button and you will be redirected to a New Tab, where you can preview the landing page that is attached to the campaign.
Copy URL: Copy URL functionality can be used when you want to copy the URL and paste it somewhere or share it with someone, this saves the time of the user as they now dont have to manually copy the URL of the landing page.
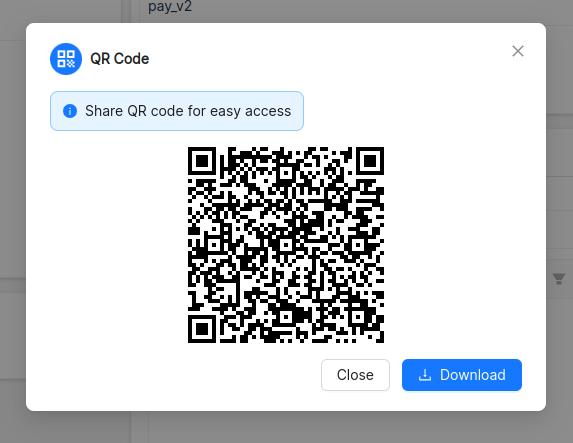
QR Code: Share the QR code of Landing page for easy access. Click on the Download button to download the QR code.
Show Code: Effortlessly copy the campaign embed code for website integration. There are two ways in which you can embed the campaign code, one is 'Embed Within the Form' and the other is 'Embed Within the Modal'
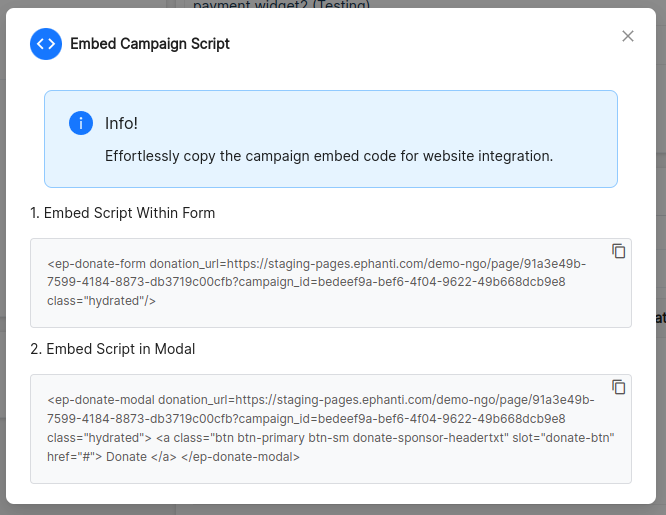
Choose any one option based on the requirement and click on the Copy icon. The code is then copied successfully.